Calibration Check Methods
In GMG ColorProof, the calibration check can be conveniently started in three ways, as described in the following.
| Trigger | Short description | Where? | See also |
|---|---|---|---|
| Manually | You can manually print a calibration control strip from time to time to check the current status of your printers. | Output > Printers > Available Printer Calibrations > Check Calibration | Manual Calibration Check |
| Automatically, per scheduler | You can automatically print a calibration control strip in regular intervals. For each printer, a scheduler can be configured. | Output > Printers > Automatic Calibration Check | Calibration Check Scheduler |
| Automatically, when printing a job | You can print a calibration control strip as a Job Control Strip. |
Manual Job Manager > Job > Label/Strips > Job Control Strips > Calibration Control Strip Workflows > Job Control Strips > Calibration Control Strip |
Printing a calibration control strip manually or per scheduler
If you print the calibration control strip without a job, i. e. manually or per scheduler, the strip will be printed 12 cm below the start, with additional white space and a noise border. This extra space is added to avoid that printer instabilities will show up in the control strip. According to GMG tests, print results are very stable after the first 12 cm.
Printer stability could be an issue if you add the strip to very short jobs. In such cases, it is recommended to add white space to the job, for example, by moving the images down using the Layout tools in the Manual Job Manager until the strip is 12 cm away from the top.
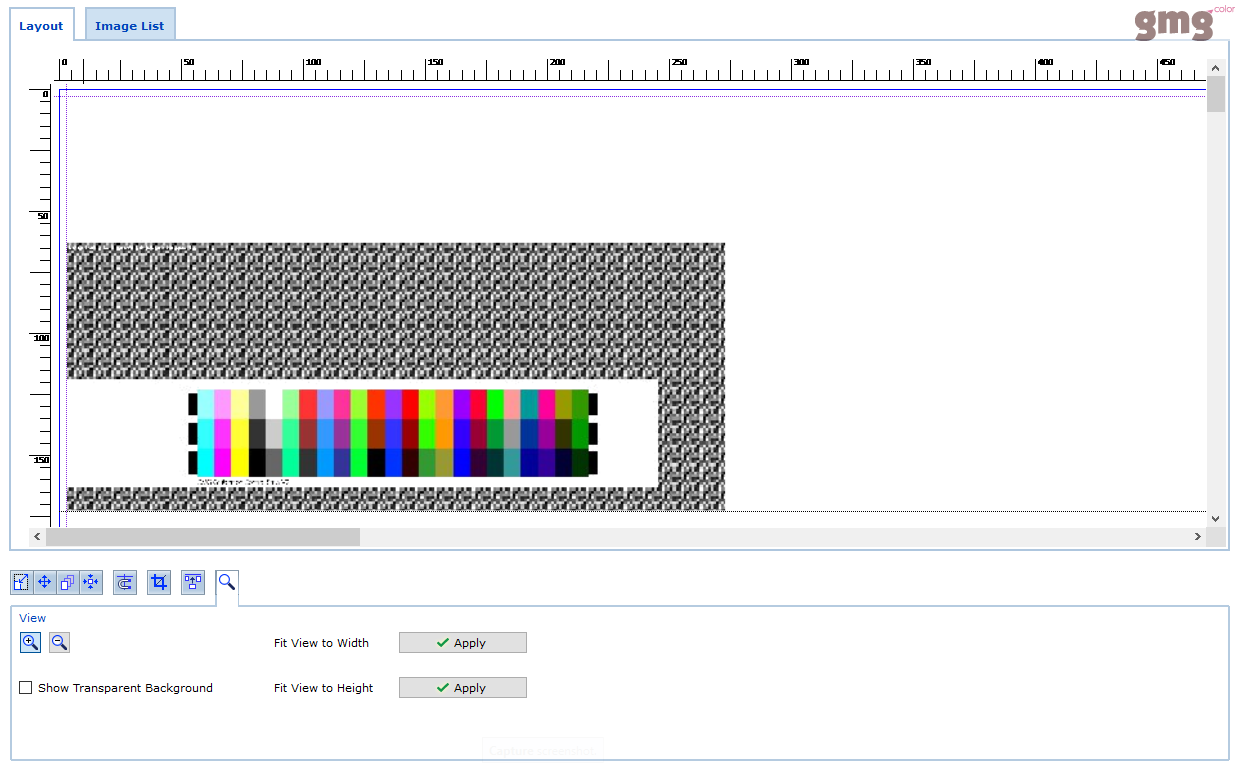
Screenshot of the calibration control strip in the Manual Job Manager.
This screenshot shows how the calibration control strip will be printed if it is printed outside a job. When adding the strip to a job, it will be printed without the white space and noise border.