Correcting the Paper Tint and Creating a Custom Medium
To adjust the paper tint to the production material, you can import spectral measurement data or directly edit the Lab target value. A spectral measurement is generally the method of choice as it is more precise.
Paper tint corrections are not only applied to the white point, but are calculated into all inks that are set to Relative.
- From a Characterization or Project, on the Tools & Actions panel, click Color Corrections.
- From the ink list on the left, select Media.
- Import a spectral paper tint measurement (1).
—OR—
Directly edit the Target Value (2).
The paper tint will be changed accordingly and the preview will be updated (3). - Click Save to Database to save the paper tint and and other media related properties as a new custom medium to the database.

Editing the Paper Tint.
The media type defined in the characterization is displayed as Target Media Type (4) with the dependent media settings (5). You can change these settings if required, but for most cases it is recommended to profile with the default values (see "Advanced Media Settings").
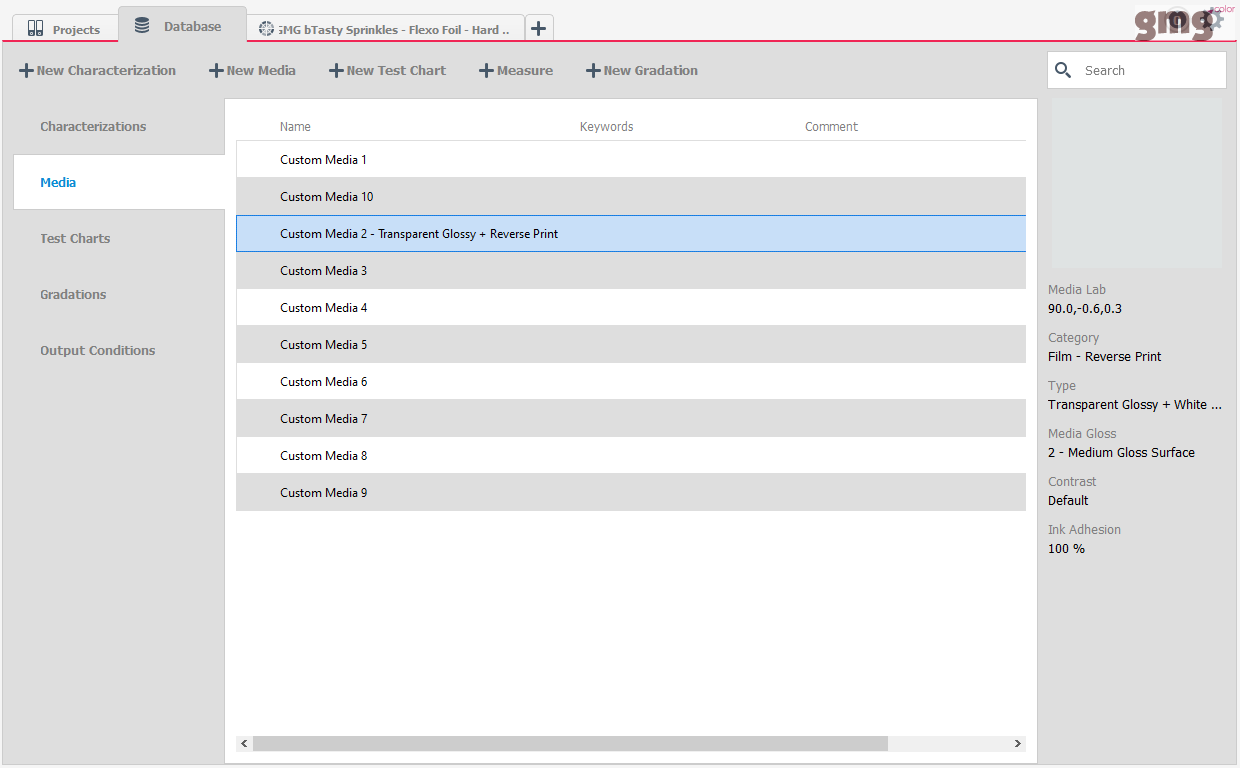
The custom medium will be available for later use in other projects using the same media type. It will be shown in the Database form under Media.
See also: